Appearance
Services & Enrollment
Services
What it's for
Browse the full catalog of services you can enroll a client into.
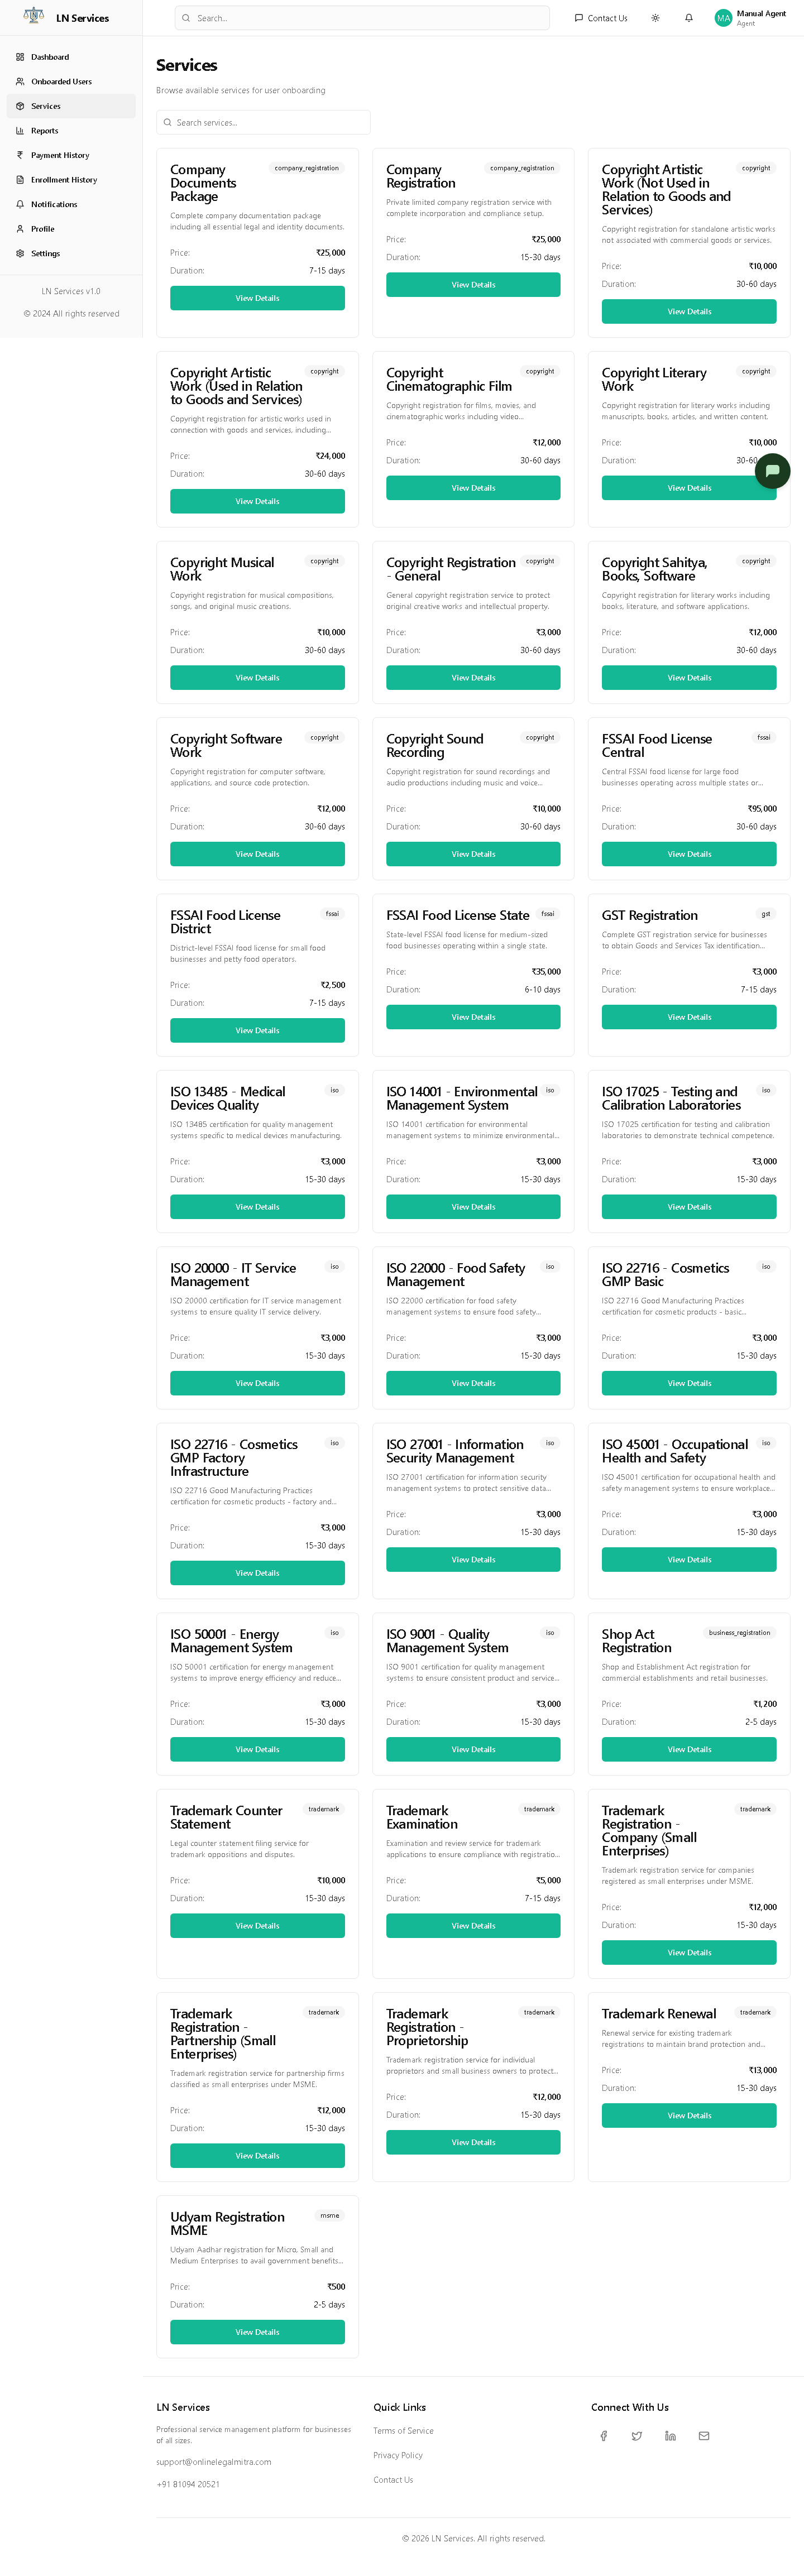
Steps
Use the search box to filter by name/type, then click View Details on a card.
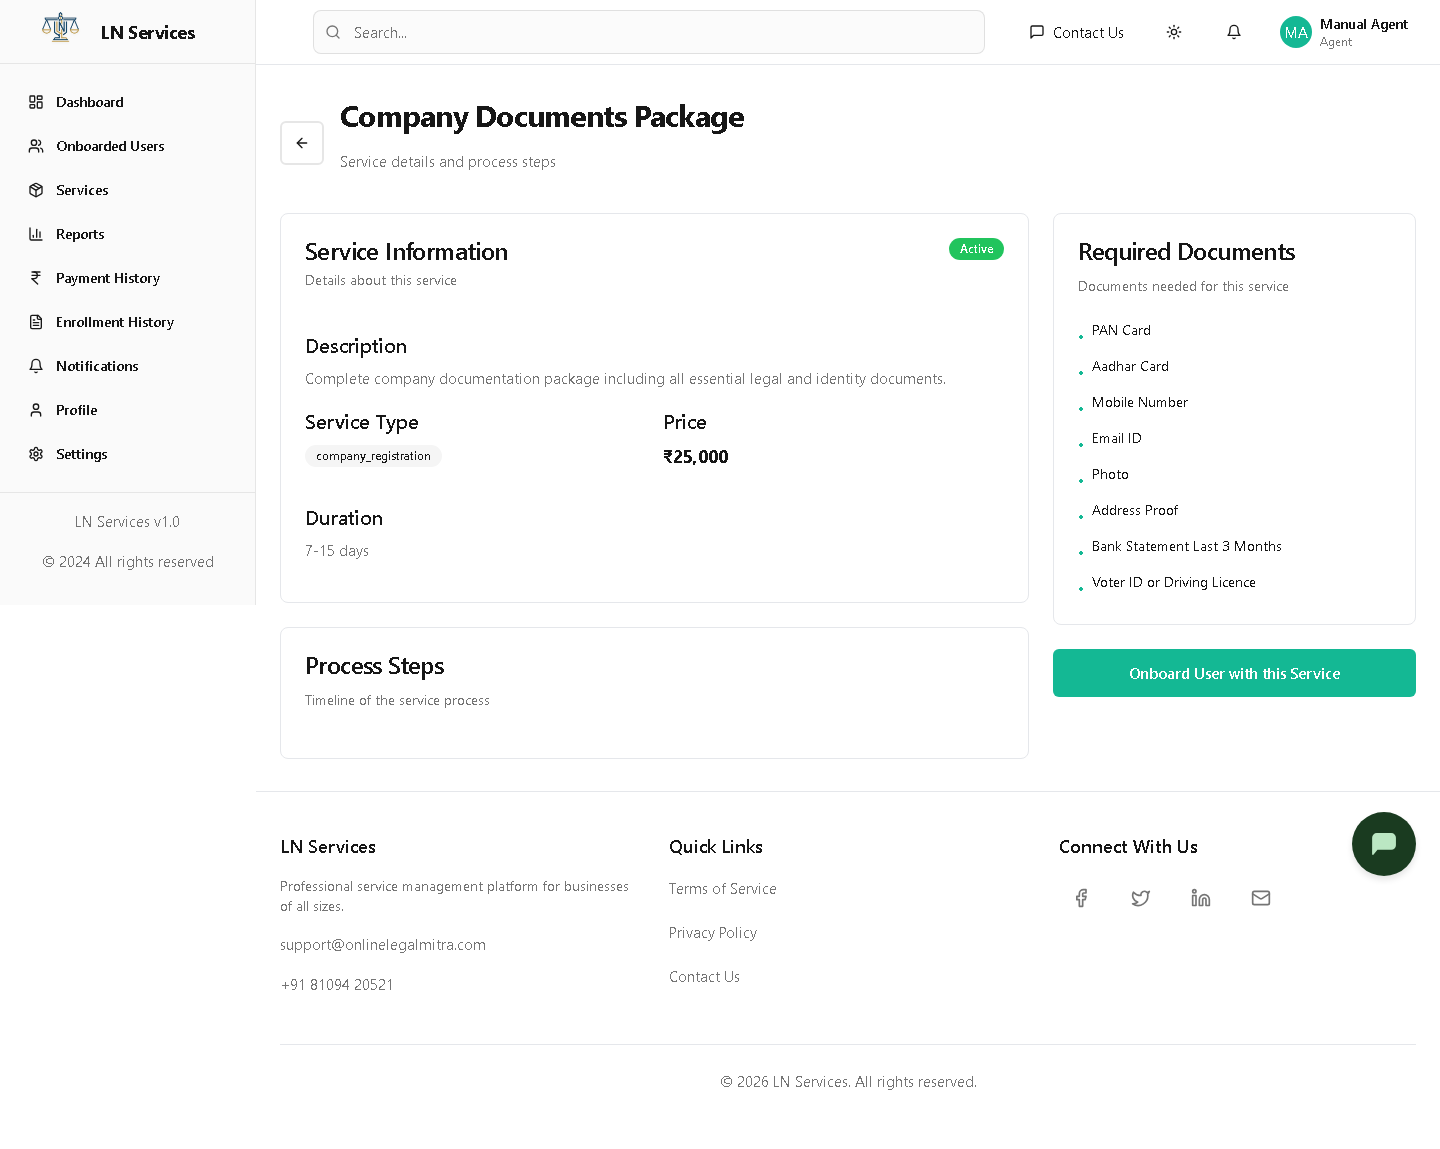
Here you can see the price, duration, and required documents before enrolling anyone. The Onboard User with this Service button just takes you to Onboarded Users — it doesn't pre-select this service, so you'll still choose it again on the enroll screen.
Technical Notes
GET /api/agent/services, GET /api/agent/services/:id.
Enroll a client
What it's for
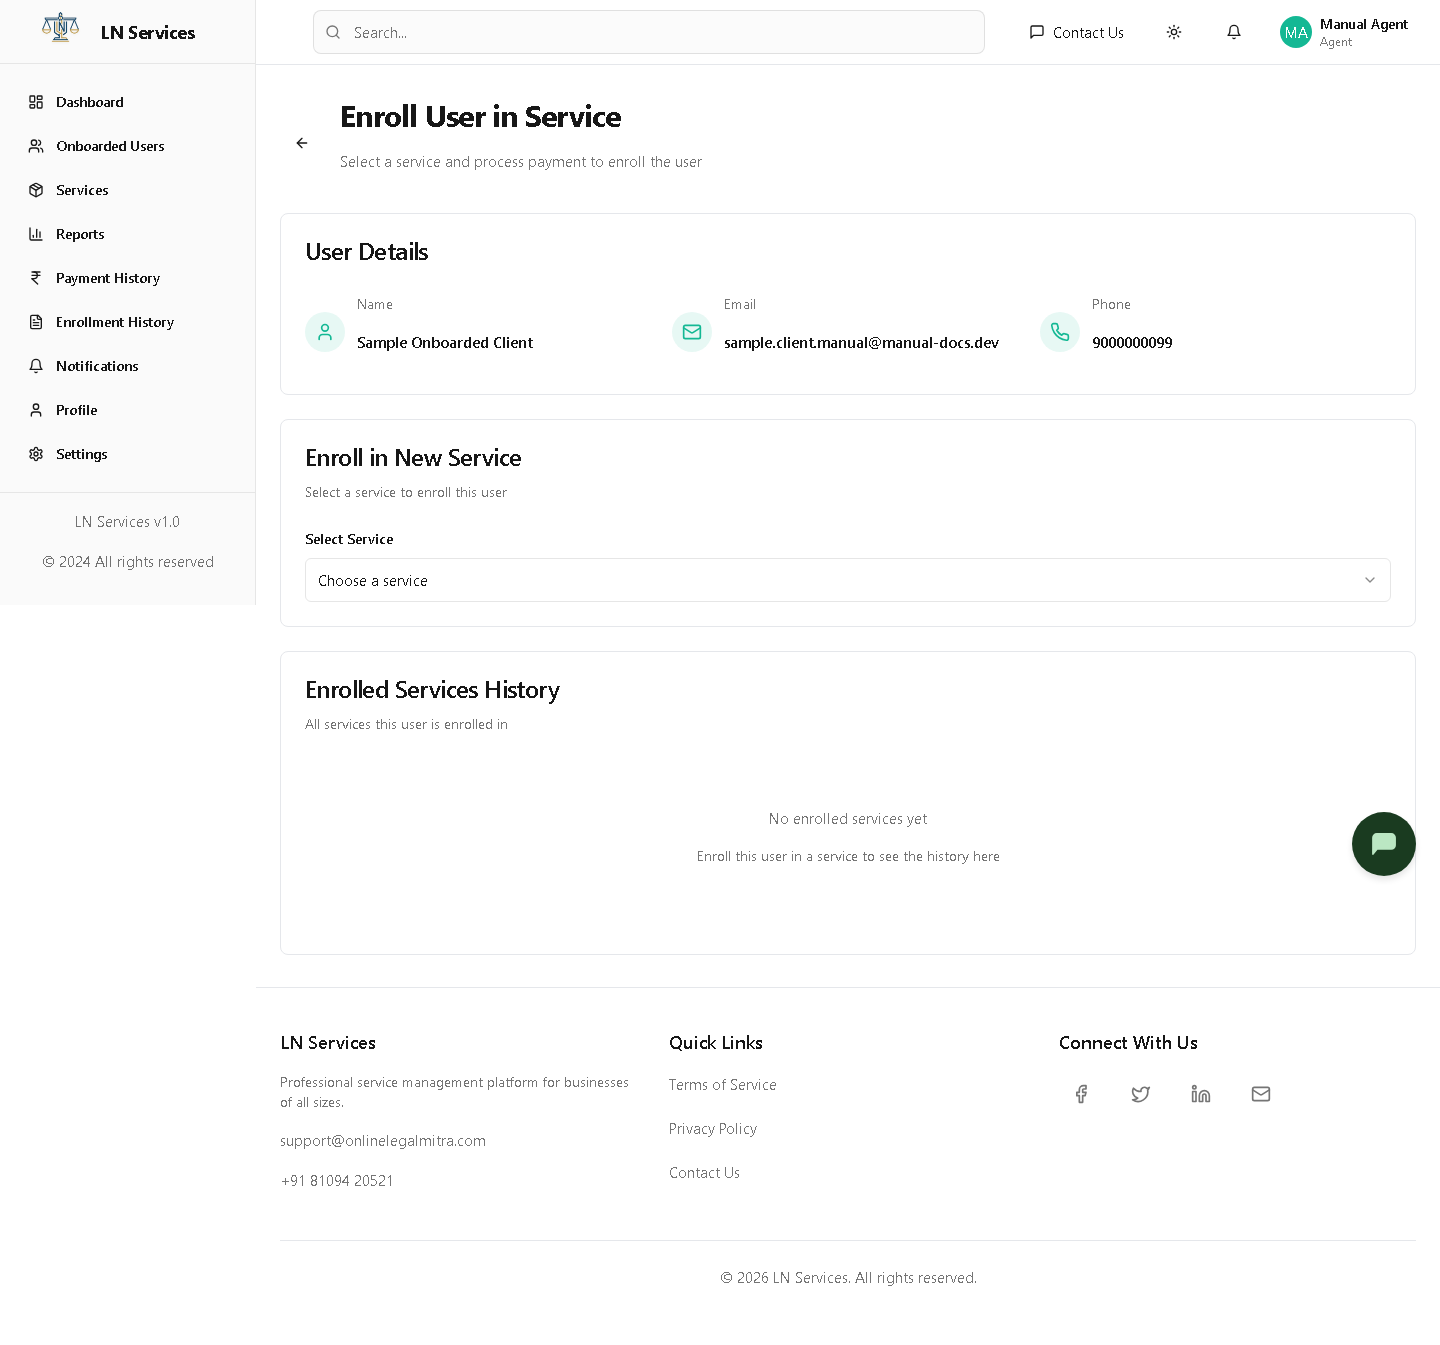
The actual enrollment + payment flow, reached via Enroll in Service from the Onboarded Users list.
Steps
- Under Enroll in New Service, choose a service from the Select Service dropdown.
- Review the summary that appears (price, duration), then click Proceed to Payment.
Complete Payment dialog
This is the same payment screen used everywhere in the app — Admin's Direct Enrollment, every role's client enrollment, all funnel through this one component.
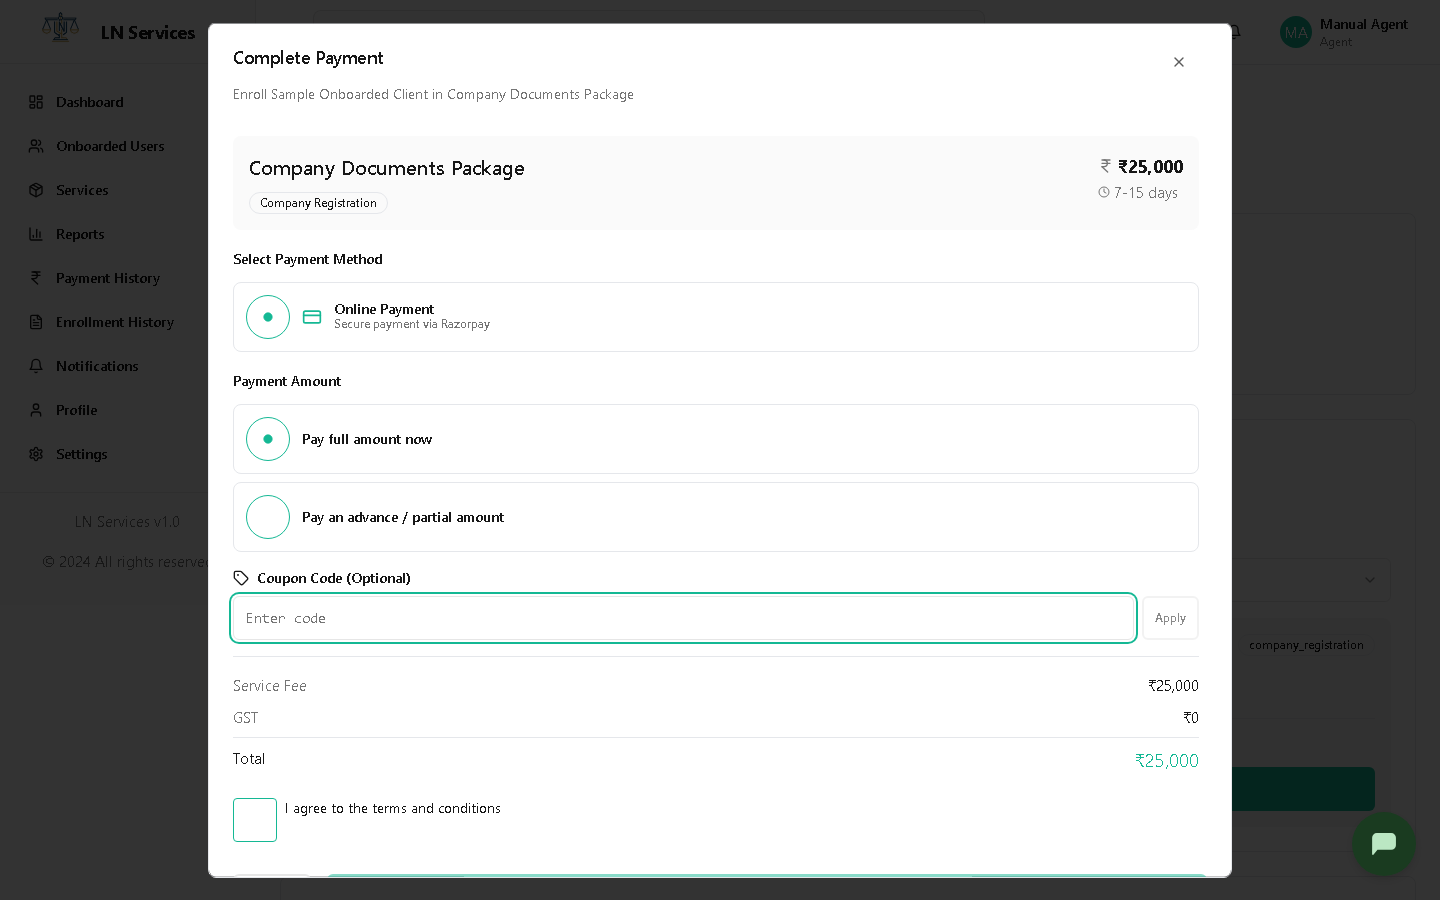
Pick a payment method (Agents only see Online Payment via Razorpay — Cash and other manual methods are staff-only), choose to pay in full or leave a partial advance, optionally apply a coupon, and click Pay ₹....
Technical Notes
GET /api/agent/users (to look up the one user by id), enrollment order creation and verification via the shared enrollmentService/paymentService (PaymentDialog.tsx in components/common/). The available payment methods list is role-gated inside PaymentDialog.tsx — Cash, External Online Payment, and Pay Later only appear for admin/employee; Agents and Associates only ever see Razorpay. The "Enrolled Services History" table on this page is currently always empty — fetchEnrolledServices is stubbed to return [], not wired to a real endpoint yet. Use Enrollment History for the real record instead.